


Wood Grain siding Board
1. Introduction
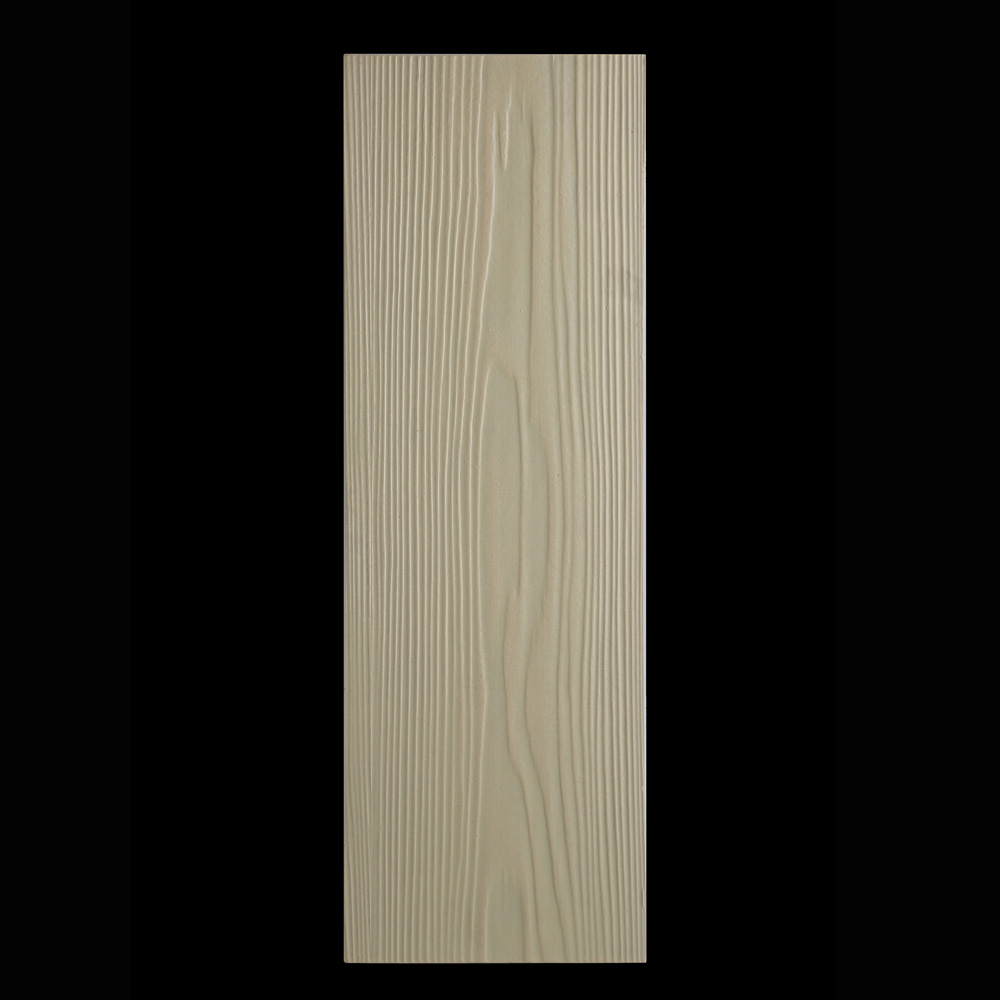
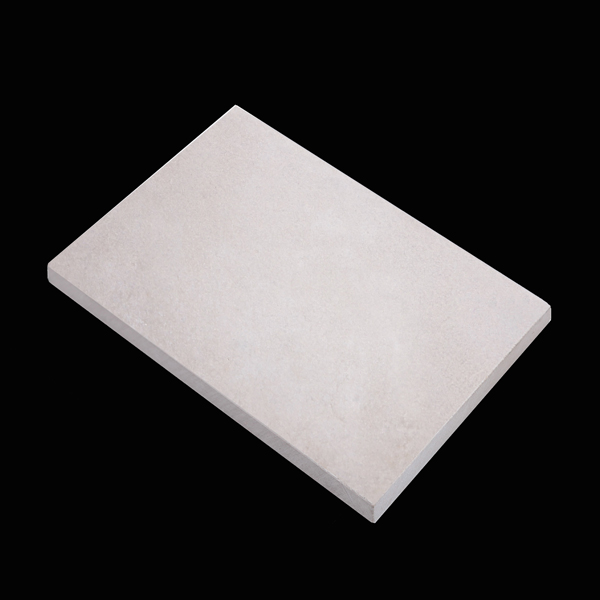
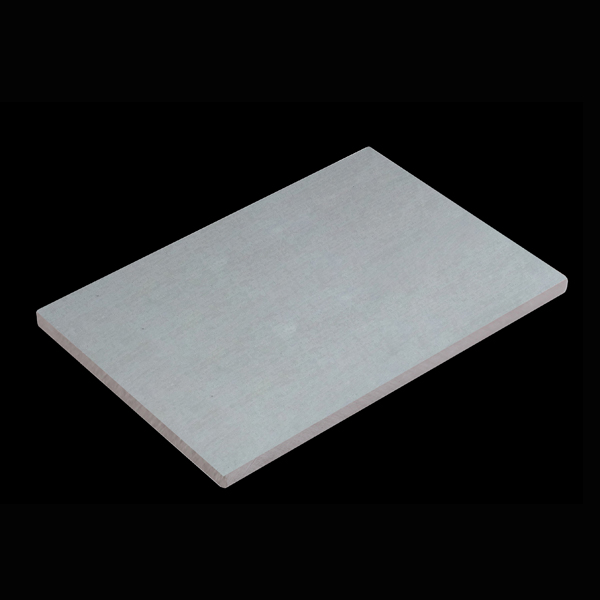
Wood grain siding board is made of calcium silicate board but with wood appearance, thus making it very good for building cladding. On one hand it is harmless to human body. On the other, it can reduce the use of wood and save a lot of trees. Furthermore, it is durable and good against insects and fire and weather. In a word, It’s an ideal substitute for wood.
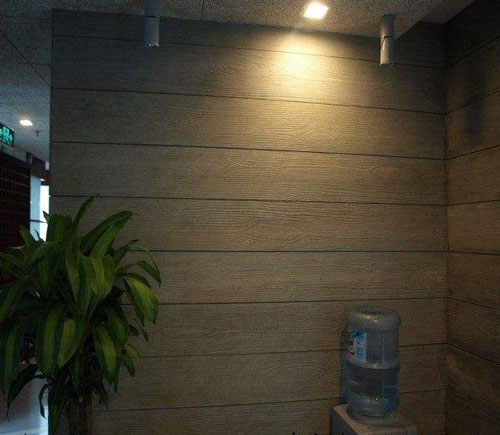
(Wood grain siding board for interior wall decoration)
2. Application
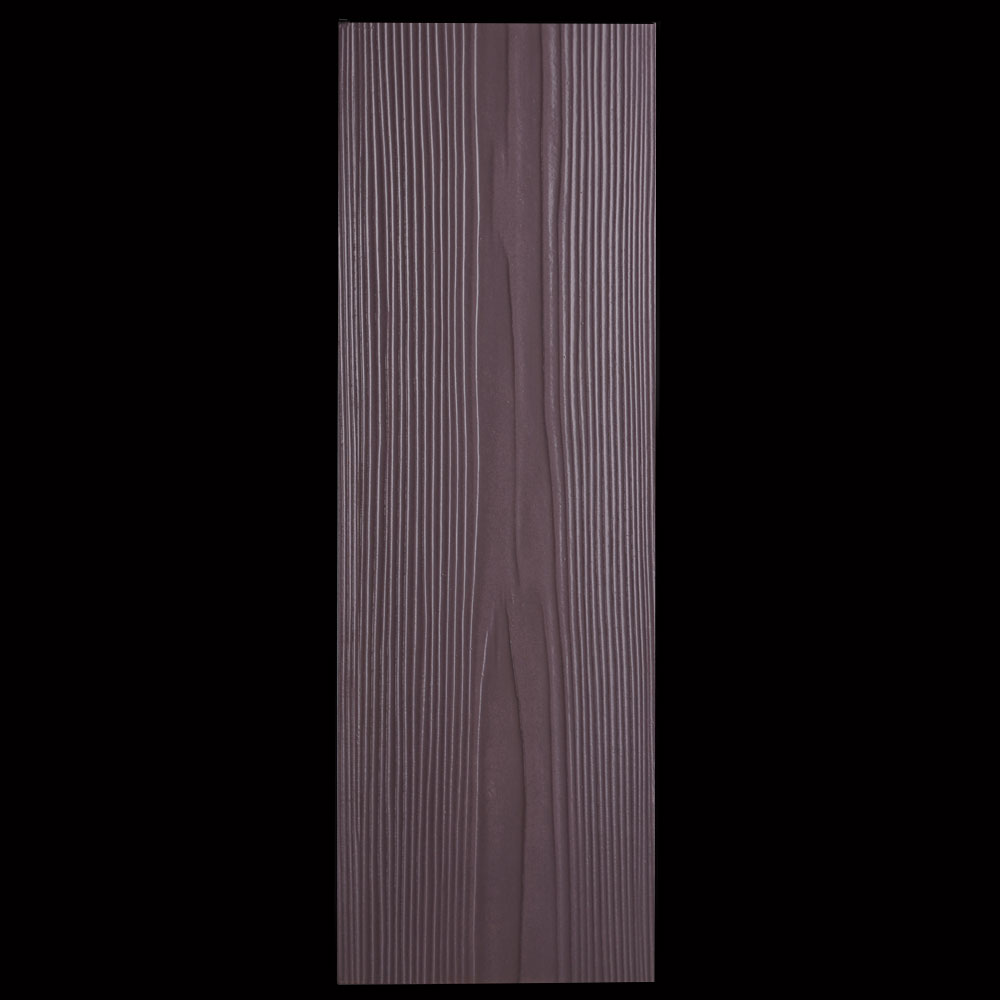
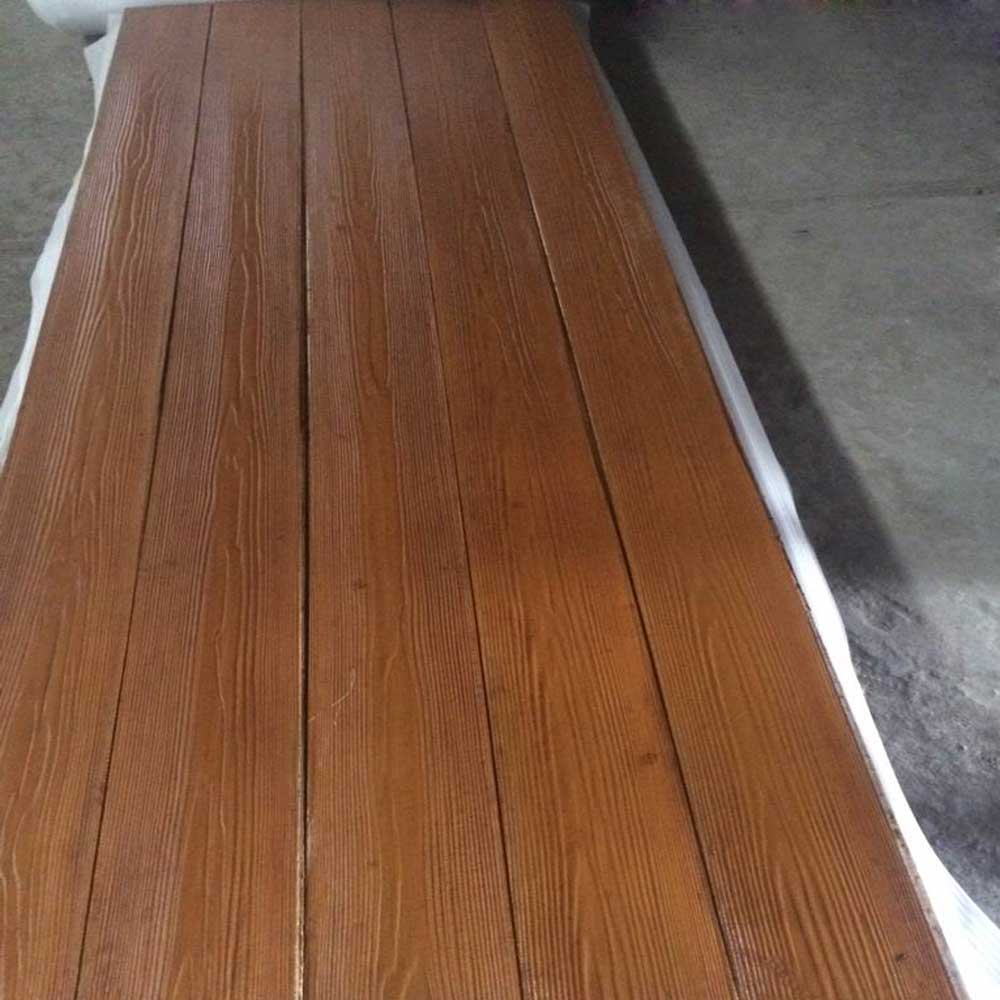
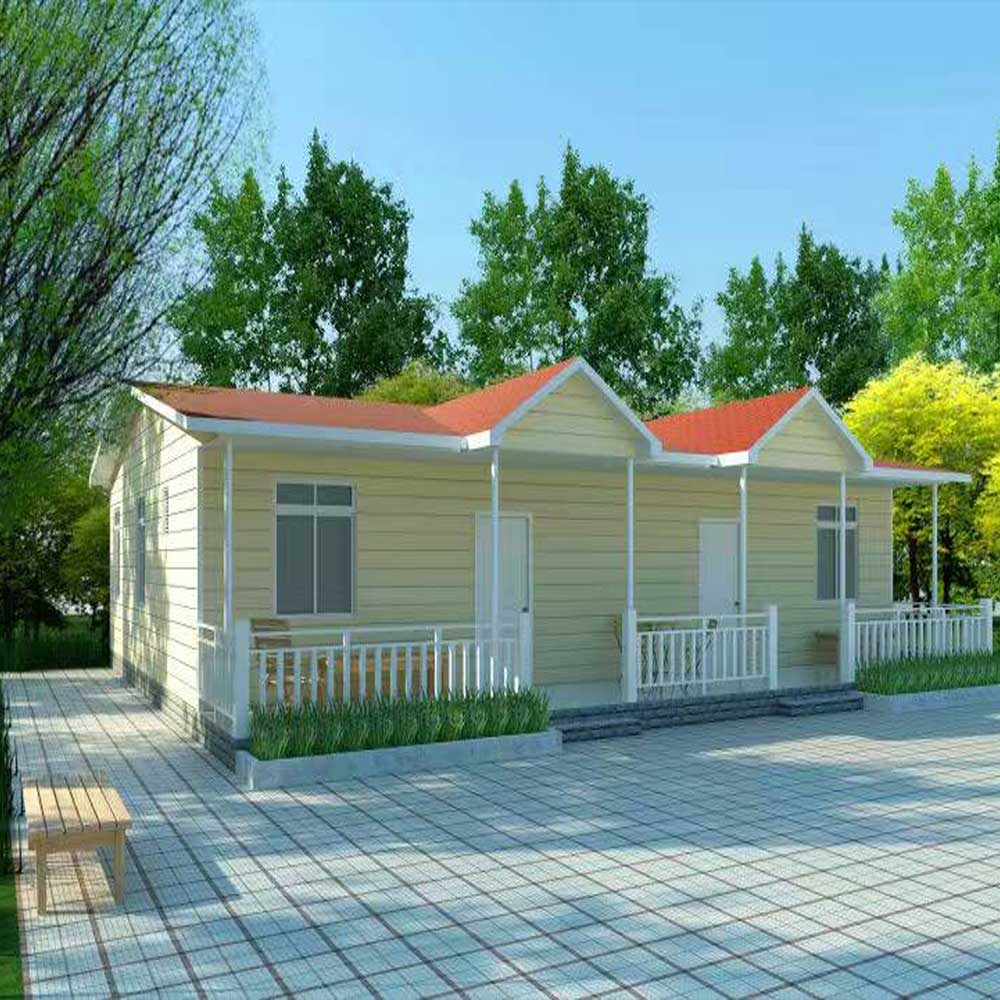
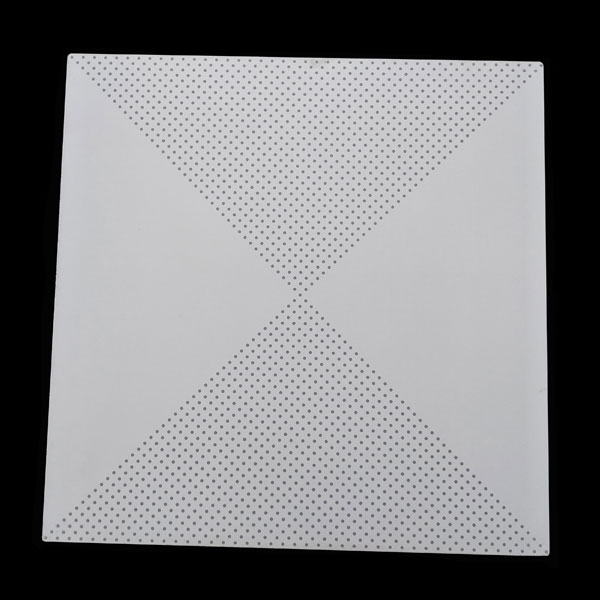
Because of its beauty and good performance, wood grain siding board is normally used for overlapping buildings like villa, bungalow, resort and interior decoration for house. It can be painted with various colors and make buildings look grand and shining.
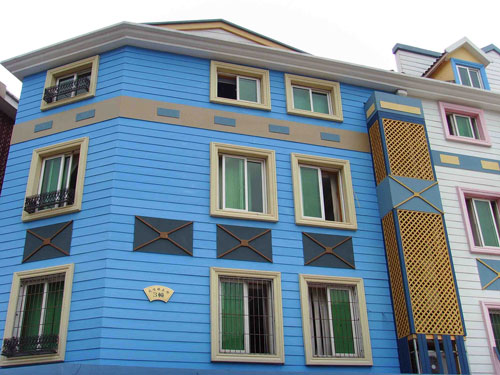
(Wood grain siding board for exterior wall cladding)
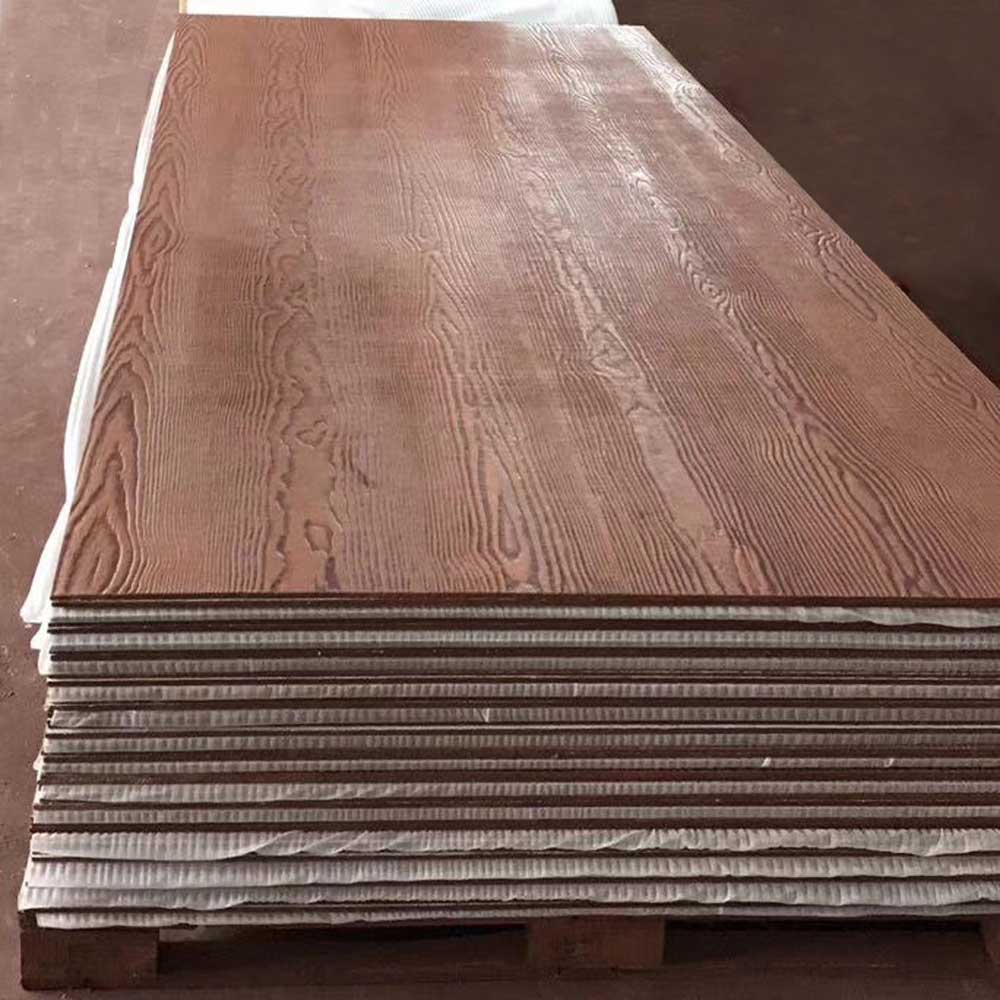
3. Specifications
|
Size (mm) |
3050*1200, 3050*200, 2750*200, |
|
Thickness (mm) |
7.5-9 |
|
Water absorption (%) |
≤40 |
|
Density (g/cm3) |
1.2-1.35 |
|
Wet Expansion Rate(%) |
0.25 |
|
Thermal Conductivity (W/m·K) |
≤0.3 |
|
Bending Strength(MPa) |
10-16 |
|
Non- combustibility |
GB 8624-2006 Class A |
4. Advantages
(1). Durable
(2). Fireproof
(3). Insect-free
(4). Waterproof
(5). Energy-saving
(6). Easy installation
(7). Environment-friendly
(8). Anti-sunlight and Weatherproof
5. Installation Processes for Wall Overlapping
(1).Smooth all walls.
(2).Find out bases of walls and draw lines as marks for installation of keels.
(3). Either 50# light weight steel or 3.5*3cm wood log can be used as keels. Fix the keels on walls at 60cm distance by nails or anchor bolt. For wood keels it is necessary to apply anticorrosion treatment, and reinforced keels must be added for door and window area.
(4).Install the first board from bottom with a nail or 3.5cm long self-tapping screw and fix it on keels. If using self-tapping screws it is necessary to drill holes in advance. Heads of nails or screws can be sunk into the board by 0.5 to 1 mm. The heads must be done with antirust treatment and then covered by waterproof putty. Distance between drilled holes and long edges must be more than 1.2cm, normally 1.5cm. Distance between drilled holes and short edges must be 2cm.
(5).Use the same way to install the second board, with one edge of the long side stacking 3.5 cm on that of the first board. Then install other ones by repeating the same procedures. Attention, if walls are wider than boards, joints of two boards on the same level should be fixed on keels, not suspended.
(6).Keep a 3-5mm wide gap between two boards. Then fill it with pu adhesive (pu25) or ceramic adhesive. The connecting of boards and corners should be covered with above-mentioned adhesives. When installing the last board on the top, remember to seal joints and gaps so as to keep water away.
(7).Boards should be cut to suit the size and shape of doors and windows. Remember to cover gaps and joints so as to prevent water leakage.
(8).At a corner of two walls, there are two ways to do the conjunction. One is to make a 45 degree chamfering of two boards and combine them together. Then seal it with tapes. And the other way is to put one board vertically on the other one then seal the joint with tapes.
(9).Use a brush or towel to clean dust on the boards before painting. It is better to use acrylic paint and the painting should be done three times (one base paint and two surface paints).
LiveChatclose

 Send Email
 whatsapp